By Michael Savage
There is a moment every muscle car enthusiast knows well. You spot a rusted-out 1969 Chevelle sitting in a field, overgrown with weeds, and instead of seeing decay, you see potential. That is exactly how my restoration obsession started, and I can tell you from experience: there is nothing more satisfying than bringing a piece of American automotive history back to life with your own hands.
If you are thinking about tackling your first muscle car restoration project, this guide is for you. I have learned a great deal over the years—some of it from books, some from mentors in the hobby, and plenty of it from expensive mistakes I hope you can avoid. Whether you are drawn to a barn-find Camaro or a beat-up Dodge Challenger, the principles are the same. Let’s walk through everything you need to know before you turn that first wrench.
Step 1: Choosing the Right Project Car
The single biggest mistake first-timers make is falling in love with a car before doing their homework. I completely understand the impulse—these machines stir something deep in you. But a restoration project is also a significant financial and time commitment, and the car you start with will determine much of your experience.
Before you buy anything, ask yourself a few honest questions. What is your budget—not just for the purchase, but for parts, labor, and tooling? How mechanically experienced are you? And what is your end goal: a show-quality concours restoration, a daily driver, or something in between? These answers will shape every decision that follows.
Some of the most beginner-friendly first projects include the Ford Mustang (1965–1970), the Chevrolet Camaro (1967–1969), and the Pontiac GTO. Parts availability is excellent for these models, the community is strong, and there is no shortage of documentation. I covered my own criteria for selecting a project car in detail over at How Mike Savage of New Canaan Picks the Perfect Muscle Car for His Garage—it is worth a read before you start shopping.
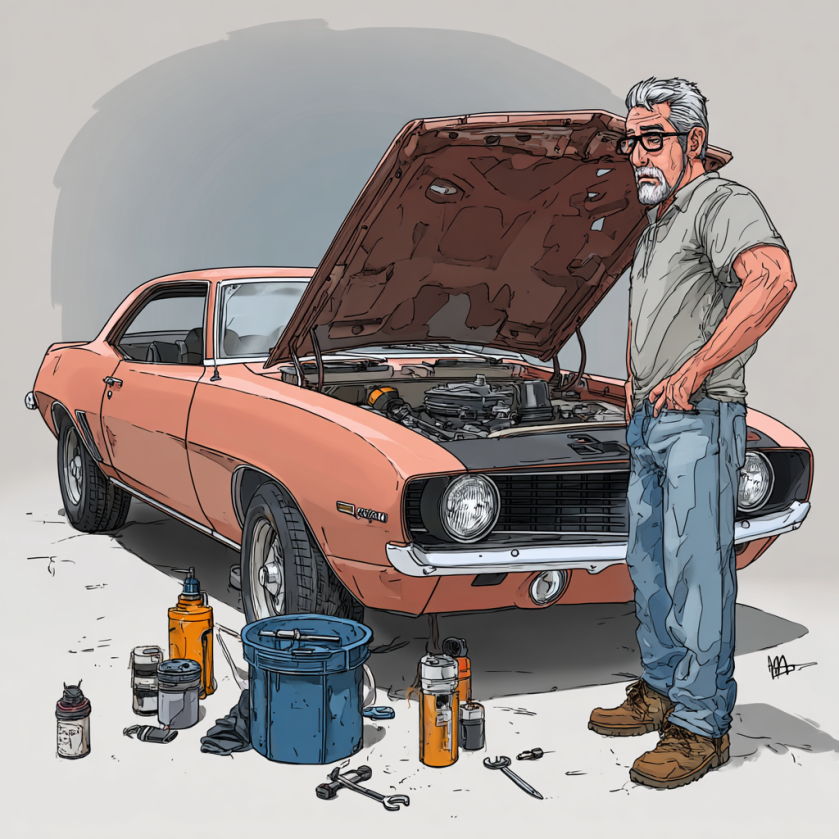
When inspecting a potential project car, bring a flashlight, a magnet, and a screwdriver. Check for rust in the floor pans, trunk, and frame rails—these are the most costly repairs. Surface rust on body panels is manageable; structural rust is a project-killer for a newcomer. Pull the VIN and cross-reference it with the build sheet whenever possible. Numbers-matching cars command higher resale value, but they are also more expensive to restore correctly.
Step 2: Building Your Budget and Restoration Plan
Once you have found your candidate, resist the urge to dive straight into teardown. Spend time building a detailed restoration plan and budget first. Experienced restorers consistently advise doubling your initial cost estimate, because unexpected expenses are the rule rather than the exception in this hobby.
Break your restoration into phases: body and paint, mechanical (engine, transmission, suspension, brakes), interior, and electrical. Tackle them in that order. There is no point in detailing a beautiful interior if the car still pulls left and overheats. Prioritize function before form.
For budget research, the team at Hagerty maintains one of the most comprehensive classic car valuation and cost databases available. Their Valuation Tools and DIY restoration cost guides are invaluable for setting realistic expectations. Knowing what a fully restored version of your car is worth on the market will also help you decide how much to invest in the project.
Step 3: Setting Up Your Workspace
A proper workspace can make or break a restoration project. You do not need a professional shop, but you do need at minimum a two-car garage with good lighting, adequate ventilation, and a solid concrete floor. You will be spending a lot of hours in this space, so make it comfortable and organized from the start.
Essential tools for a first restoration include a floor jack and quality jack stands (never work under a car on a scissor jack), a full socket set (both SAE and metric), combination wrenches, pliers, a torque wrench, a multimeter for electrical diagnostics, and a drill with wire wheel attachments for rust removal. A parts washer is a worthy investment early on. For bodywork, you will eventually need a DA orbital sander, body filler tools, and a paint gun—though many first-timers wisely outsource paint and bodywork to a professional shop.
Document everything obsessively. Before you pull anything apart, photograph every angle, every wire connection, every component in its original location. These photos will save you countless hours of head-scratching during reassembly.
Step 4: The Teardown Process
Teardown is the most exciting phase of any restoration—and also where projects most commonly stall. The car comes apart quickly and easily compared to putting it back together, and it can be demoralizing to see your project sitting disassembled for months. Fight that temptation to rush.
Label every part, bolt, and connector as you remove it. Use zip-lock bags with masking tape labels, and keep a written log. Group parts by system: engine hardware together, suspension components together, interior trim pieces together. This discipline will repay you many times over.
As you disassemble, assess each component honestly. What can be rebuilt? What needs replacement? What can be sourced from a salvage yard versus an NOS (New Old Stock) vendor? The Specialty Equipment Market Association (SEMA) is an excellent resource for locating reputable parts suppliers and understanding what performance upgrades are available for your specific model.
Step 5: Engine and Drivetrain Restoration
For most first-timers, the engine is the most intimidating part of the restoration. My advice: do not be. A numbers-matching V8 from the muscle car era is fundamentally a simpler machine than any modern engine. There are far fewer electronics to worry about, and the mechanical principles are straightforward.
Start by sending the block to a machine shop for a full inspection. They will check for cracks, measure bore wear, and assess whether you need a rebore or can get away with honing. While the block is at the shop, freshen the heads—valve jobs are cheap insurance. Replace all gaskets, seals, and bearings. A proper engine rebuild done once is far better than a half-hearted job that requires redoing a year later.
While you are thinking about performance, do not overlook fuel. Once you have your engine running right, you will want to make sure you are feeding it correctly. I break down exactly what octane rating to run and why in my post Fueling the Beast: Choosing the Right Gas for Your Muscle Car. Getting this wrong can cause knock and long-term engine damage, so it is worth understanding.
Step 6: Body, Paint, and Interior
Body and paint work is where most first-timers either invest in professional help or develop a whole new set of skills. Rust repair requires welding, which has a learning curve—but there are plenty of excellent online tutorials and community college courses that can get you started. If the rust is extensive, an auto body shop is money well spent.
For paint, research your car’s factory color codes thoroughly. Original paint codes are typically stamped on the firewall or door jamb data plate. Authentic colors are a major factor in show judging and resale value. Resources like Hemmings Motor News maintain excellent archives of factory specs and color charts by make, model, and year.
Interior work is often more approachable for beginners. Quality reproduction carpet kits, headliners, seat upholstery, and door panels are available for nearly every popular muscle car model. Take your time with fitment—a sloppy interior installation will stand out just as much as a bad paint job.
Step 7: Enjoying the Fruits of Your Labor
Once your restoration is complete—or even at major milestones along the way—get the car out and enjoy it. The muscle car community is one of the most welcoming in the automotive world. Car shows, cruise nights, and organized events are fantastic ways to share your work and learn from other enthusiasts.
I wrote a comprehensive overview of the best events across the country in The Ultimate Guide to American Muscle Car Events in 2025. Whether you are looking for a concours judging experience or just a casual weekend cruise, there is an event out there for every level of restoration.
And if you are curious about how your restored classic compares to modern muscle car technology, I explore that fascinating contrast in Muscle Cars & Technology: Innovations and Advancements in Modern Muscle. Understanding where the platform has gone can deepen your appreciation for where it started.
Final Thoughts
Restoring a muscle car for the first time is one of the most demanding and rewarding things you can do as an automotive enthusiast. It will test your patience, stretch your budget, and push the limits of your mechanical knowledge. It will also connect you to a piece of American history in a way that simply buying a finished car never can.
Start with realistic expectations, do your research before you buy, plan your budget conservatively, and document every step of the process. Find a mentor if you can—most experienced restorers are happy to share what they know. And above all, enjoy the journey. The finished product is worth it, but so is every hour spent in the garage getting there.
Michael Savage of New Canaan, CT is the Founder of 1-800Accountant, a virtual accounting firm helping small businesses with cutting-edge accounting services and technology. In his spare time, Mike is a passionate muscle car enthusiast and collector based in New Canaan, Connecticut.